Class Portal Milestone 2
Portal Concept Recap
My goal was to make a landscape background for my portal that has a parallax effect. See milestone 1 for more info.
Process
.jpg)
With my parallax homepage sketch in mind (above), I started by looking into how the Firewatch website went about making their parallax effect. I saw their implementation relied on javascript and additional libraries. I wanted to avoid this, to keep it simple and learn more about css, so I looked for other options. I did end up using image sizes similar to the ones on the Firewatch website for my portal’s images.
I found out about the built in perspective and 3D transform properties built into css, and that there is a way to create a parallax effect just with html and css. I looked at a few different implementations, but found this video by Filip was the most helpful for my understanding, so I based my implementation off of it.
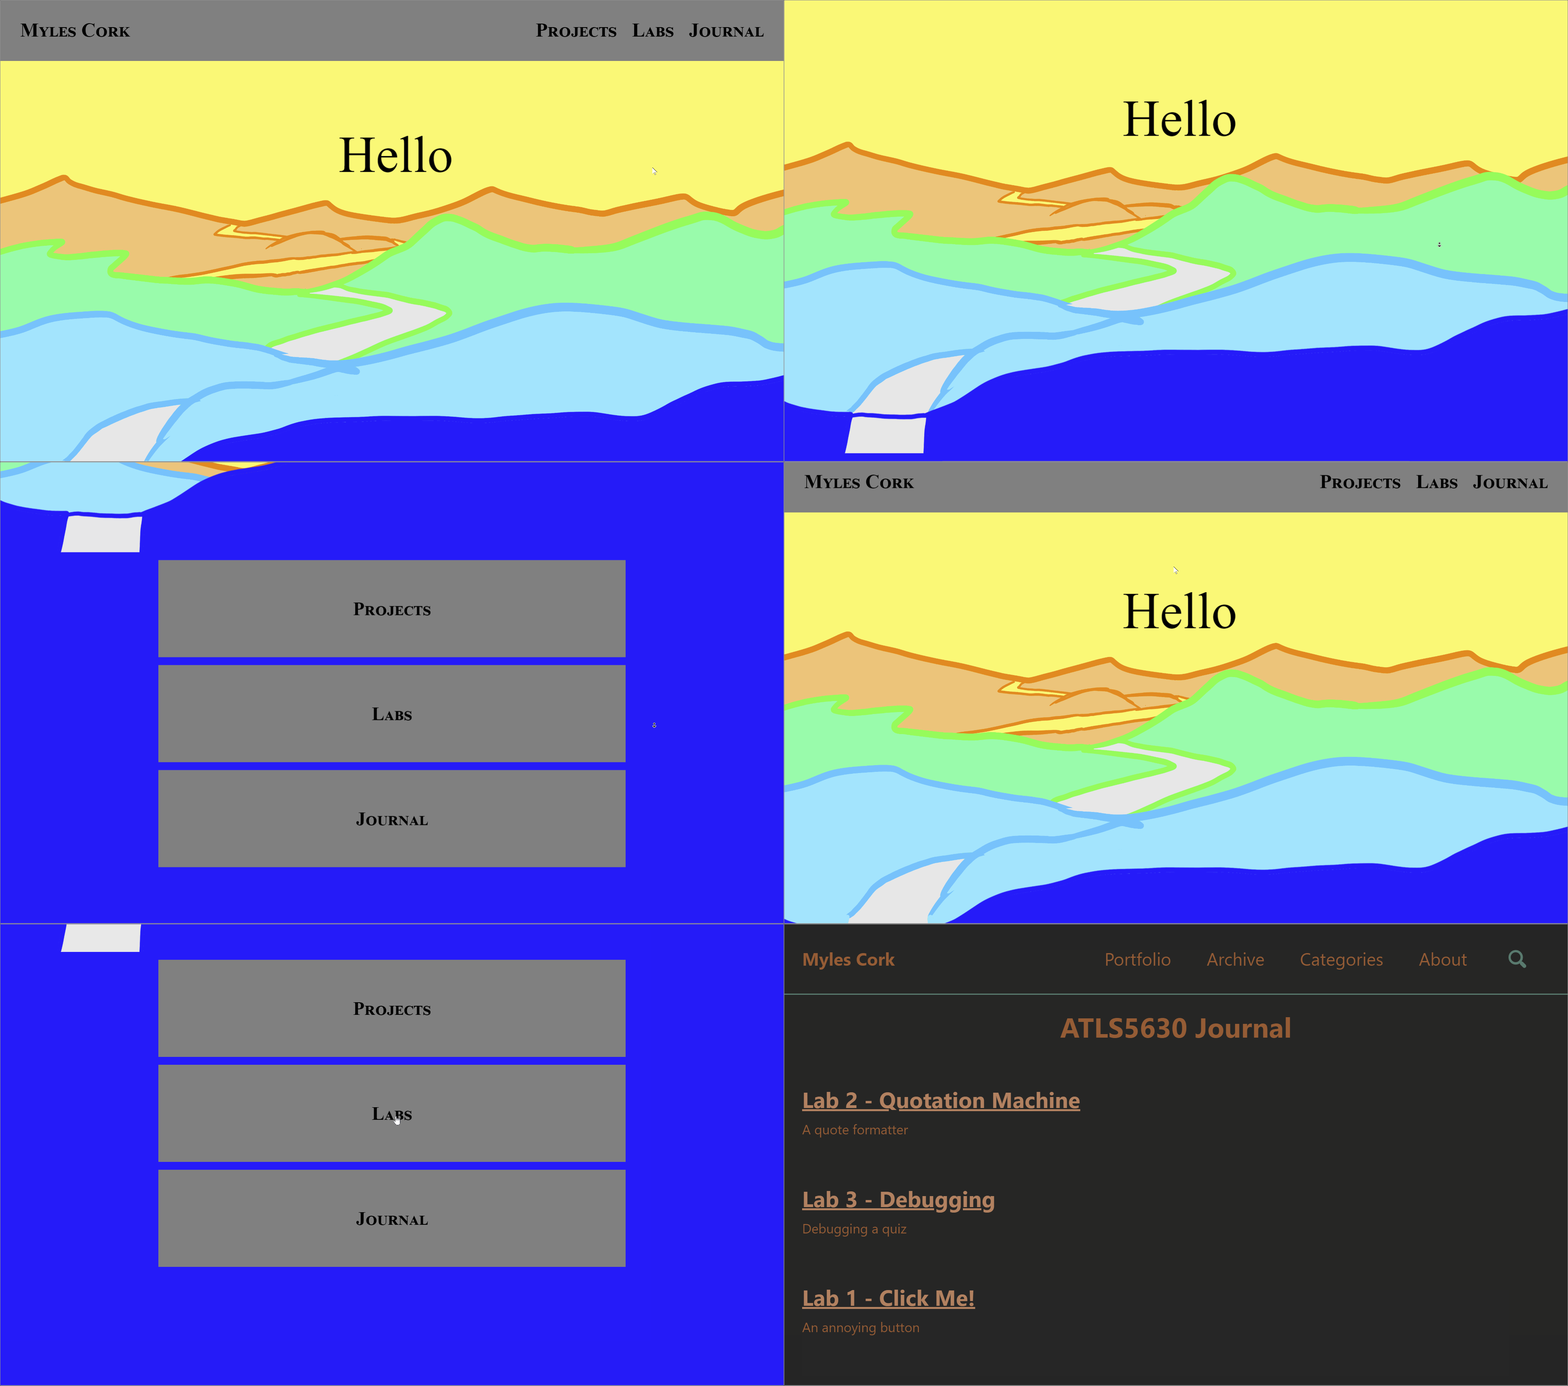
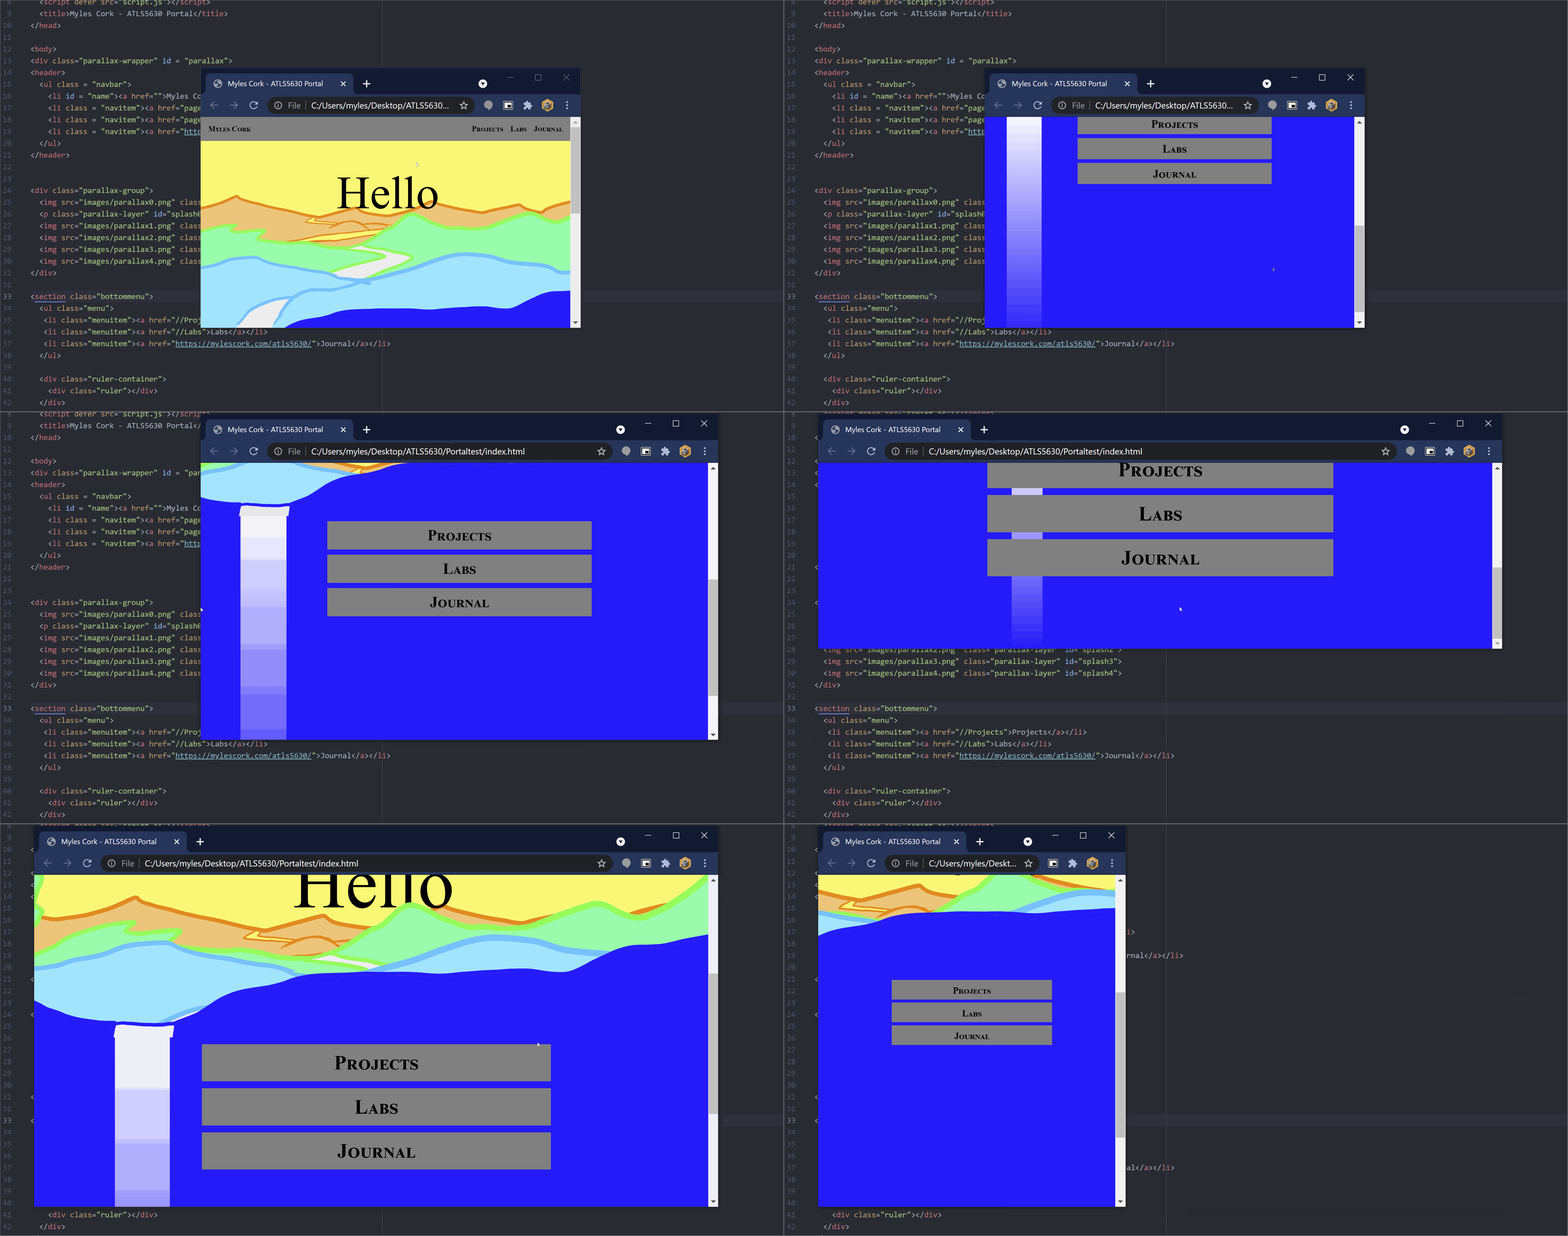
I drew some placeholder landscape assets, and after a lot of debugging CSS, got this basic portal site working:

Positioning the waterfall was difficult, as I had to replicate the scaling and margins of the parallax-wrapper and nearest parallax layer (splash0), and make sure it scaled properly when the screen size is changed.

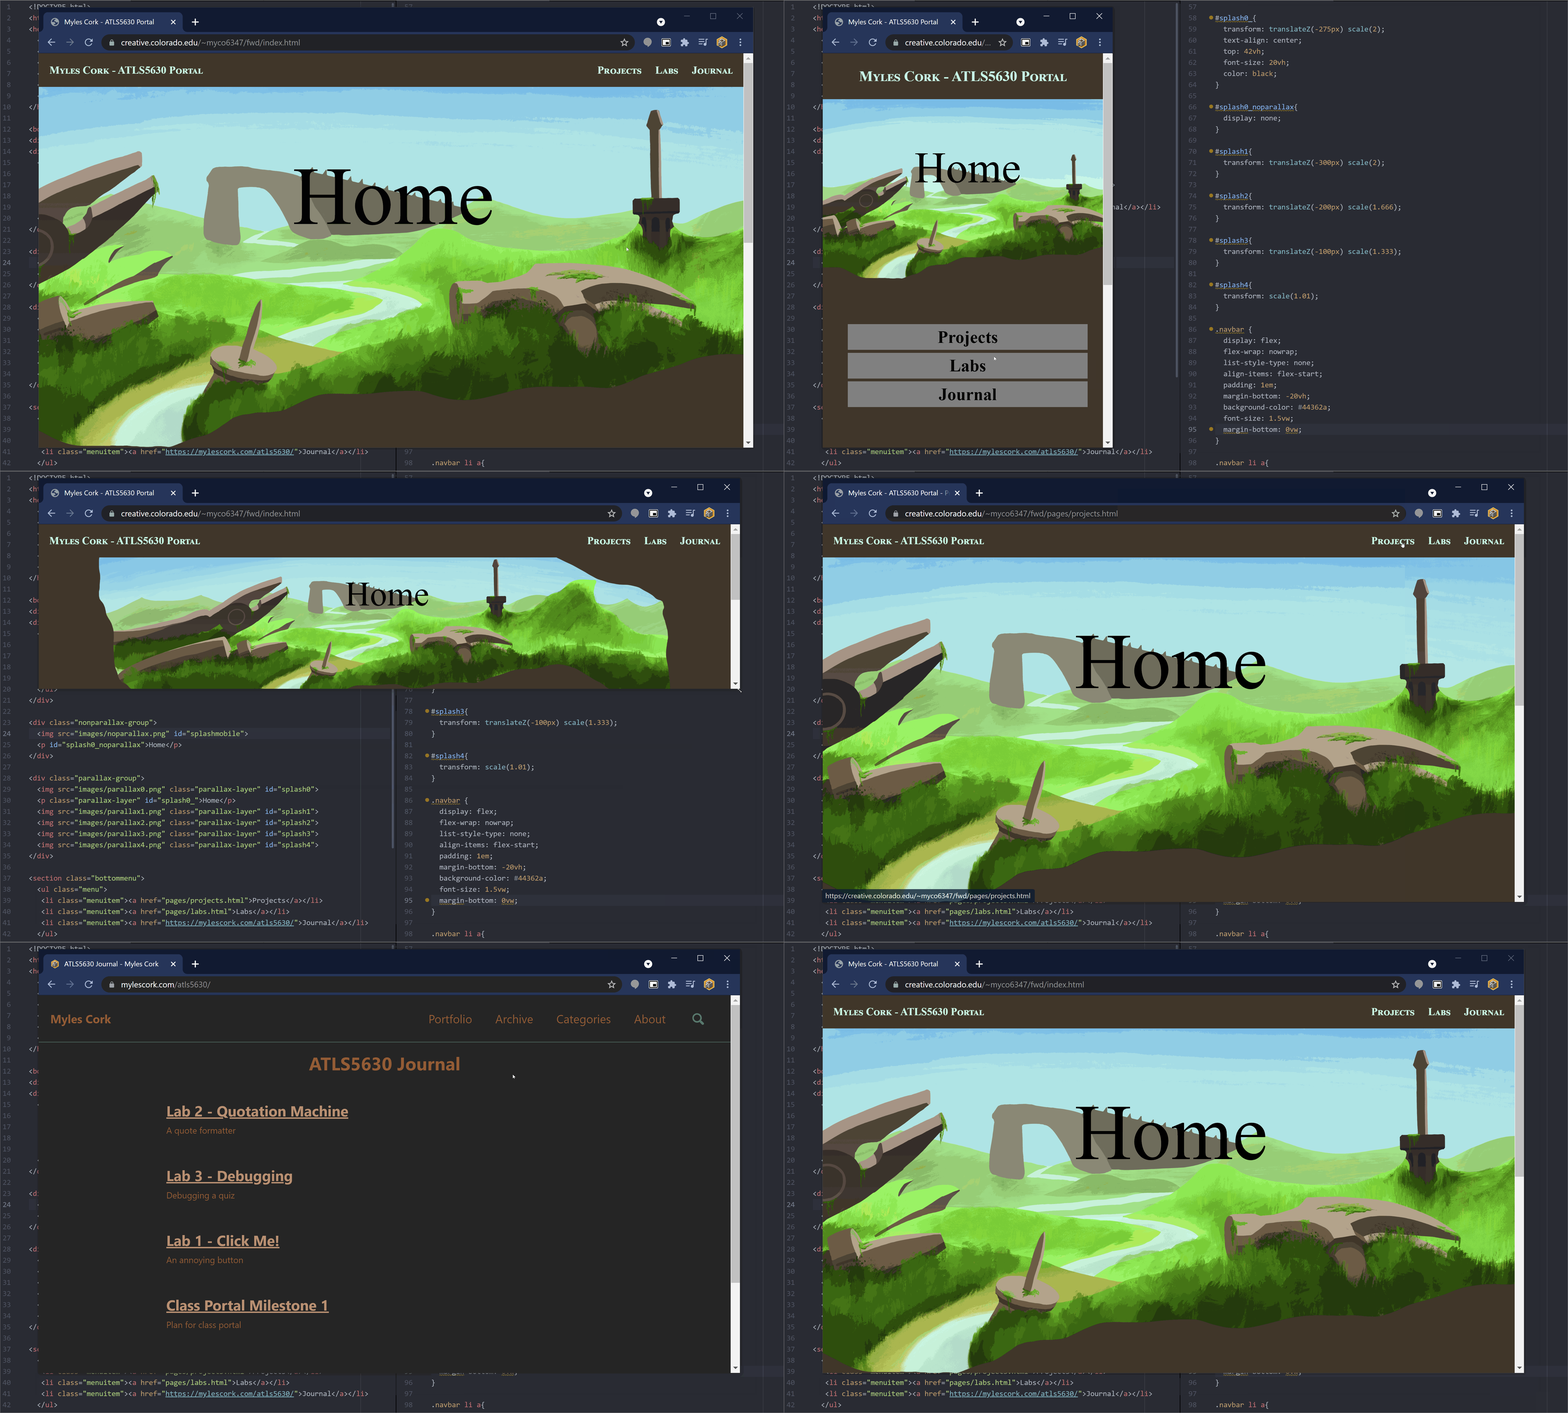
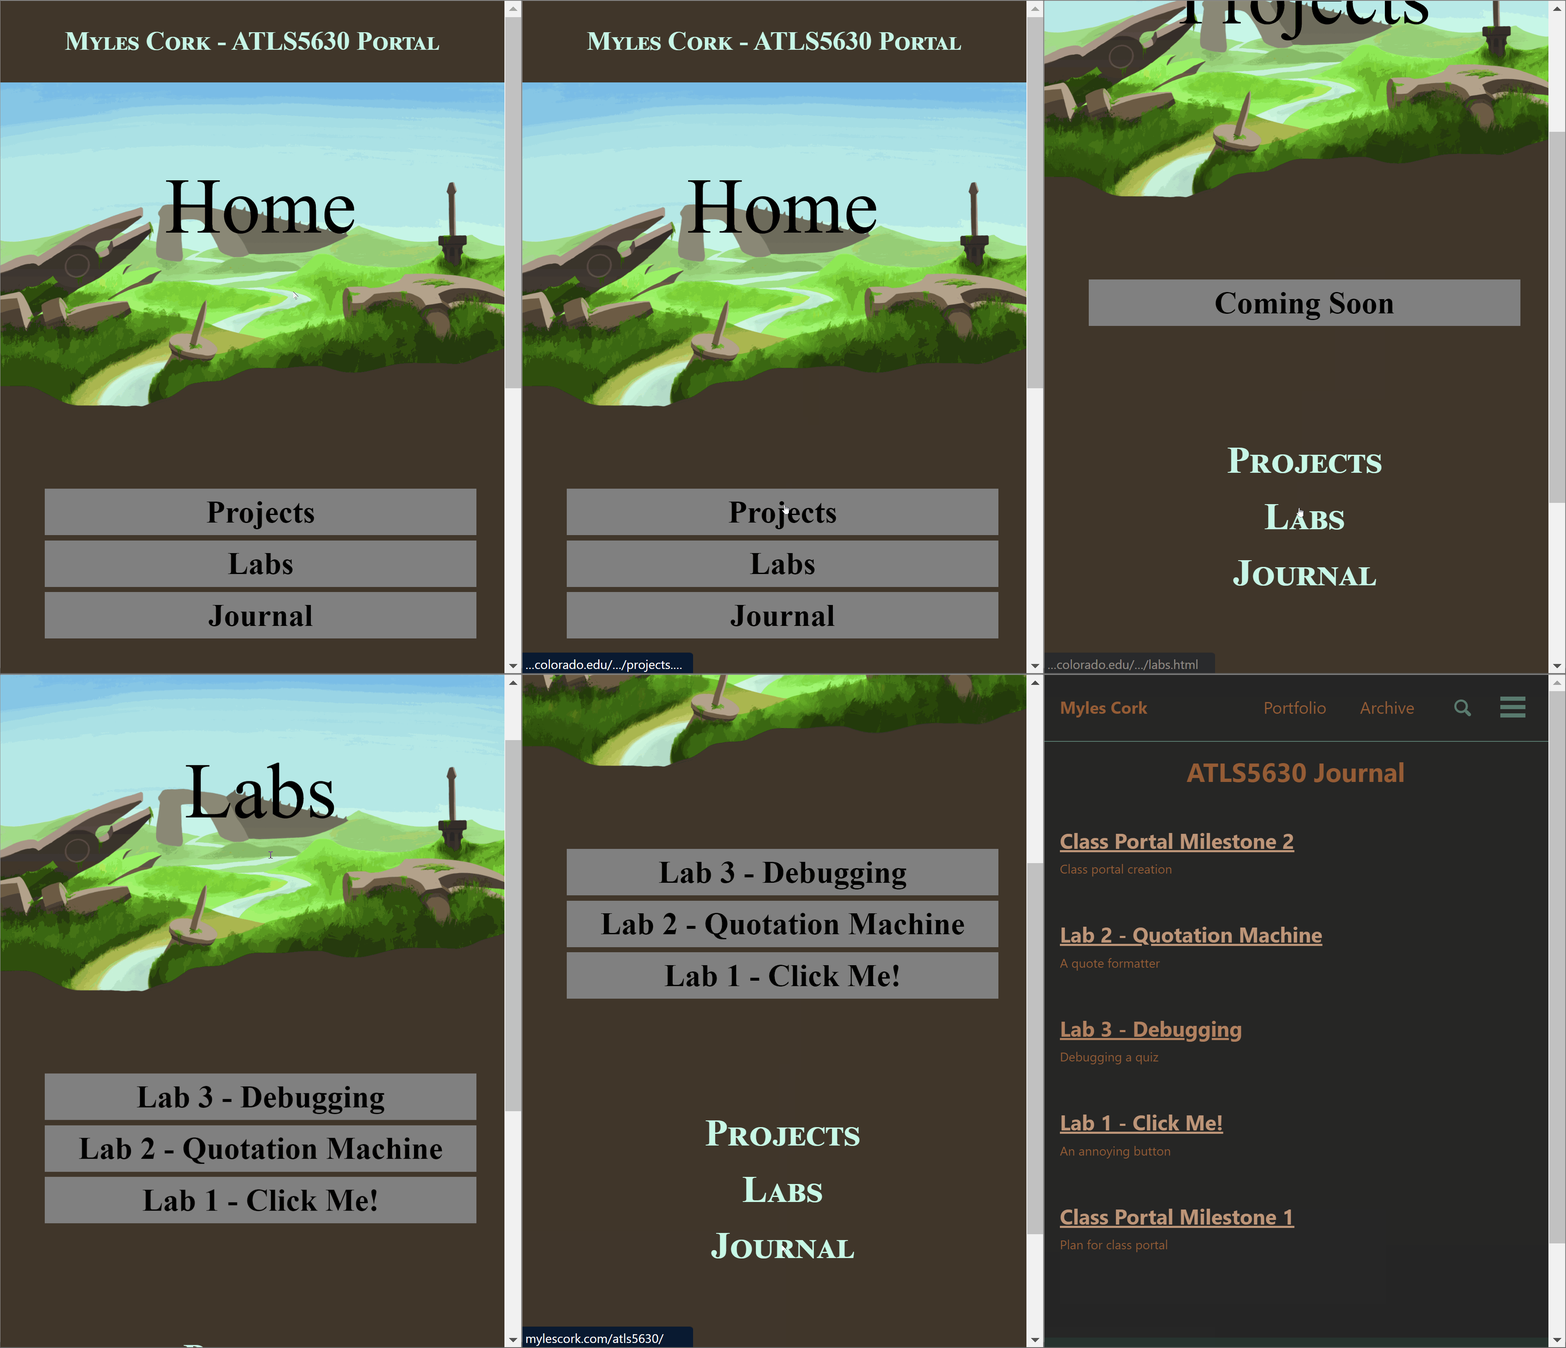
I created the final art for the background and made a version for mobile devices. I implemented a css rule for when the screen width goes below 850px, which hides the right navigation buttons and parallax group, resizes the text and buttons, and puts a single image in place of the parallax group.

After checking my design plan, I realized I forgot to move the navigation items to the bottom of the page for mobile devices, so I did. Also, in the end I chose not to make the ruler element a ruler, since I preferred it as just a waterfall.
